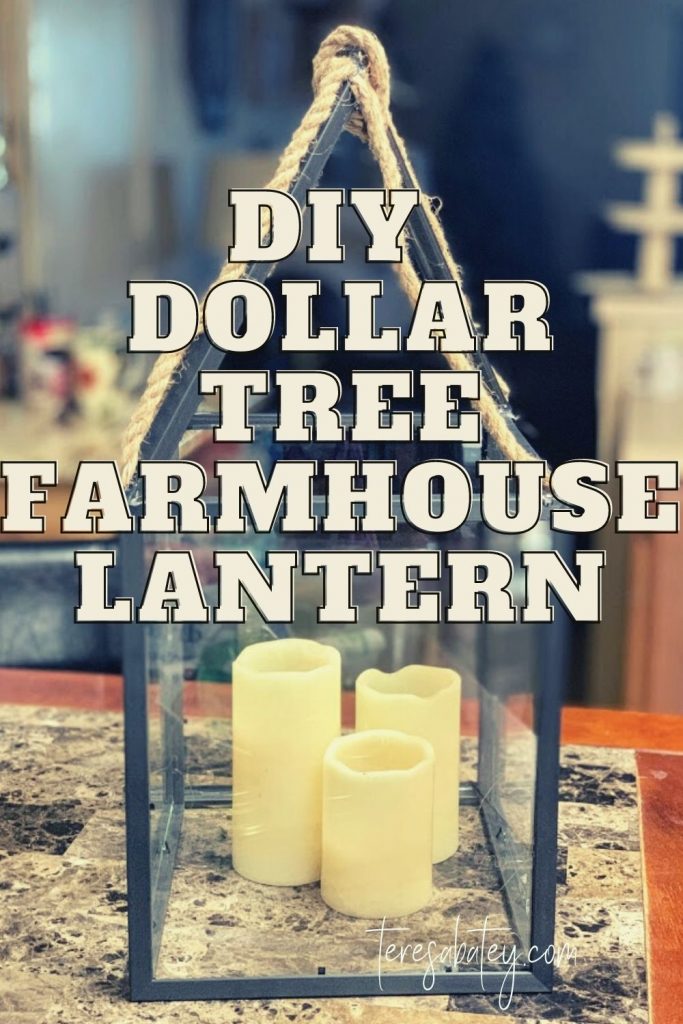
DIY Dollar Tree Farmhouse Lantern
Who would have thought you can make so many cute things out of picture frames, I had no clue. I found this DIY Dollar Tree Farmhouse Lantern on Pinterest and fell in love with it.
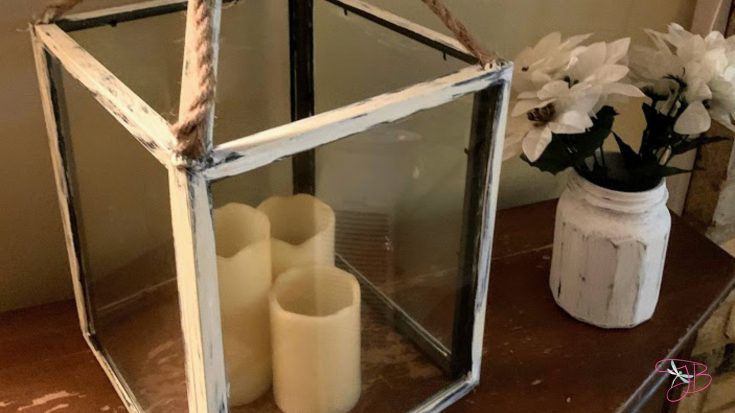
Mine is not that fancy, it was my first time ever making one but I love out it turned out and have added in with my living room decor.
This lantern is so easy to make. Head over to Dollar Tree and grab 4 8x10 picture frames and 1 8x8 square picture frame.
Also, grab some hot glue, E6000 (optional), pliers and rope and let's get started.

For the printable version, please scroll down to the bottom of this post.
Materials - DIY Dollar Tree Farmhouse Lantern
- 4 – 8×10 picture frames (flat sided)
- 1- 8×8 square picture frame
- Needle nose pliers
- Hot glue gun
- E6000 Glue (optional)
- Rope

Instructions
- Take the back off of each frame (leave the glass inside) and glue each side together to create a cube with the four frames. Make sure to glue the front of each frame facing the outside.

- 2. Using the needle nose pliers, break apart the square picture frame and remove the tiny metal pieces holding the sides together.
- These will be used for the top of the lantern.
- 3. With the hot glue gun, glue them to the top of lantern at each corner, making a point at the center.
- I actually used the hot glue and E6000 together for a stronger hold.

- 4. Optional, for more realistic detail, paint a plastic shower curtain ring or rope (as I did) and add it to the top. It adds a nice touch.

- 5. Add pillar candles to the middle of lantern or holiday decor to display.
If you loved this craft, make sure to check out more of my Dollar Tree DIY/Crafts.
I can't wait to see your farmhouse lantern, please stop by and share it with us over on my Facebook page and make sure to follow.
DIY Dollar Tree Farmhouse Lantern
Materials
- 4 – 8×10 picture frames (flat sided)
- 1- 8×8 square picture frame
- Needle nose pliers
- Hot glue gun
- E6000 Glue (optional)
- Rope
Instructions
- Take the back off of each frame (leave the glass inside) and glue each side together to create a cube with the four frames. Make sure to glue the front of each frame facing the outside.
- Using the needle nose pliers, break apart the square picture frame and remove the tiny metal pieces holding the sides together. These will be used for the top of the lantern.
- With the hot glue gun, glue them to the top of lantern at each corner, making a point at the center. I actually used the hot glue and E6000 together for a stronger hold.
- Optional, for more realistic detail, paint a plastic shower curtain ring or rope (as I did) and add it to the top. It adds a nice touch.
- Add pillar candles to the middle of lantern or holiday decor to display.






I have been looking for an idea for a lantern for the front porch and this is it! Simple and sweet. I am going to use a piece of thin board for the bottom for more support.....
Glad you enjoyed this one 🙂 Would love to see your when done. Thanks for stopping by my blog