DIY Aged Wood Sign for Your Home


While working on stencils and wood signs, I have been trying to figure out what works for me, my style for my home.
I have always loved the rustic, distressed look and came across this DIY aged wood sign tutorial idea.
There are different ways you can get the distressed look on wood but here is a way I have recently learned while scanning TikTok. Since I love working with stain anyways, I had just had to try this one out.
DIY Aged Wood Sign Tutorial
I started with a piece of plywood that I had cut for my wood signs

Started off by sanding the wood to make it nice and smooth that way the stencil will work so much better.
Pictured below is my favorite sander that I purchased from Lowe's, it's lightweight and easy to use.

After I was done sanding the wood,, I applied this stain all over, front and back and let dry over night. I really love this stain pictured below, so far it's been my favorite for all my projects.

Once the stain was dry and then I applied some white acrylic paint (any kind you like) all over the side that is going to be stenciled (smoothest side) and also apply it around the edges of the wood.

Once I was done painting it, I let it dry for a few hours or overnight.

Now the fun part to make this DIY aged wood sign!
Take the stain and dip a sponge brush, I used the ones like this. in it and dab around the sides of the wood and anywhere else you want to make it look aged. As you go along, make sure to pat it with a paper towel.

Once you get the desired look, it's time to stencil or add vinyl to your wood with whatever quote or saying you want.
In this post, I used a stencil that I cut with my Silhouette Cameo 4 using stencil material

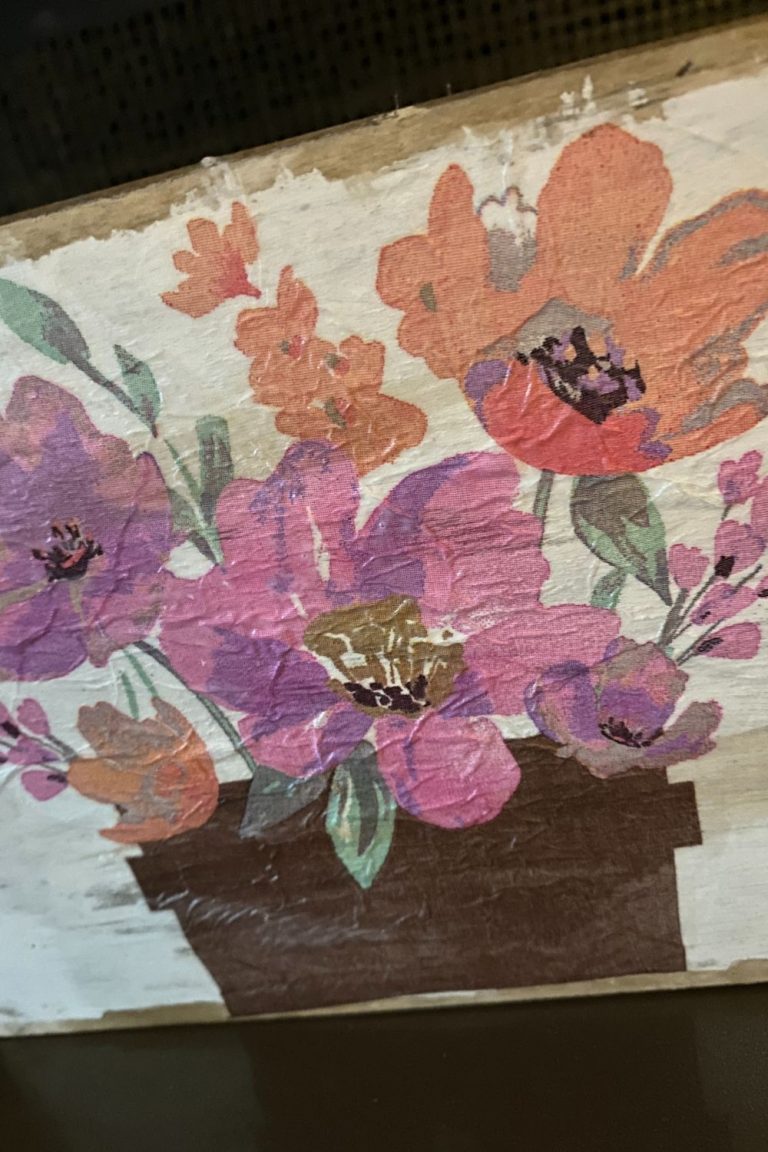
I did make one mistake while making this sign. I found out later that it's best to seal after painting and before applying stencil vinyl.
As I was pulling the vinyl off, it pulled some of the acrylic paint off, which is pretty noticeable, just take a look in the photo below and you will see many spots where it happened..
This wood sign is going in my bedroom, so the extra rustic look it gave after that happening was ok with me.
Once I let it set for a bit and make sure all was dry, I then sealed with with a glossy polyurethane and let dry again.

I made this kitchen sign too but with a different type of stencil, which did not pull the paint off and I just love it hanging in my kitchen.
The cute "Kitchen Rules" stencil that I used below is from Chalk Couture. I just love their stencils, which are reusable.
I don't have it shown in these photos (will add soon) but the way that I hang my signs is why rope that I staple to the back of the sign.
This wood is about ½ to 1" thick so I figured it would work best. With my ¼" signs, I drill holes because the wood is not thick enough for the staples.

If you loved this DIY Aged Wood Sign tutorial, please take a moment to follow me over on my Facebook page and/or Pinterest for my DIY wood crafts.
Also, you try out this aged wood tutorial, I would love to see what you made, so please share.
DIY Aged Wood Sign tutorial