DIY Aged Spring Sign with Decoupage Napkin
My favorite time of year is approaching and I just had to made a DIY Aged Spring Sign to add to my decor.
I added something new to this project. Something I have seen but never tried, Decoupaged Napkins.
While I am always trying new things when it comes to crafting, I didn't realize how simple and fun this would be to add to my aged wood and stenciling projects.

DIY Aged Spring Sign with Decoupage Napkin
Materials needed for my DIY Aged Spring Sign
- Wood of your choice
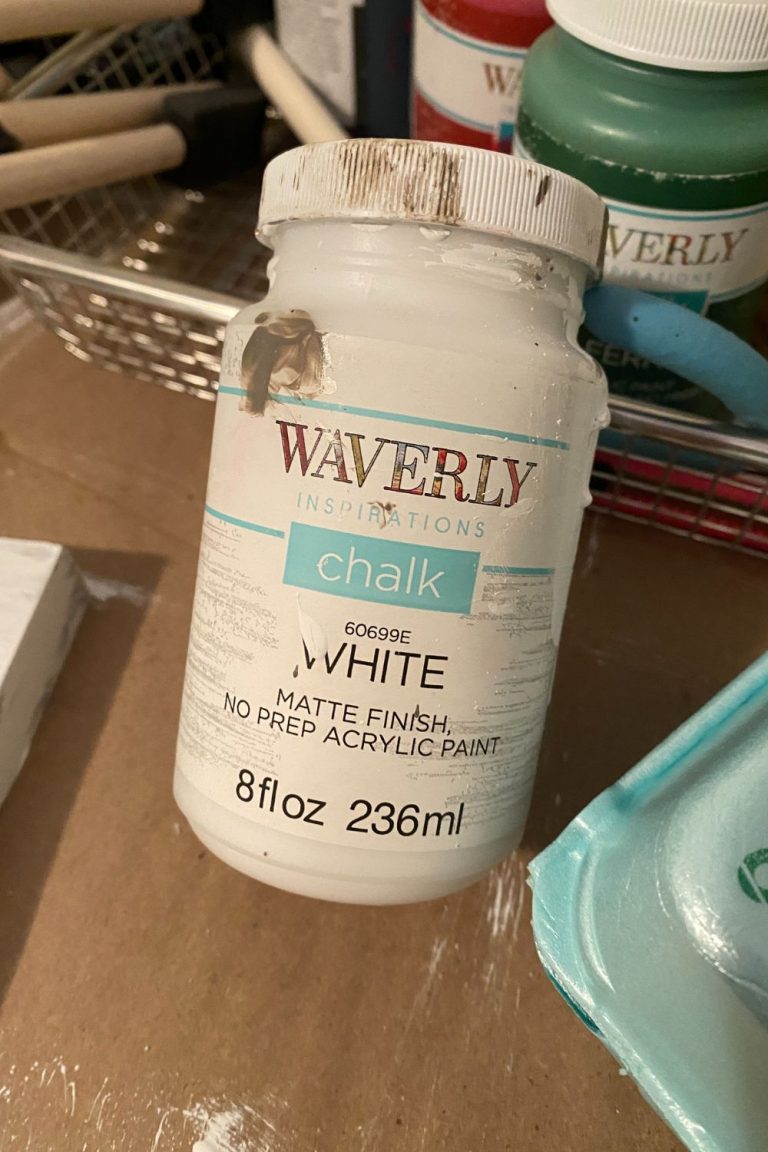
- White and Green Chalk Paint (I used Waverly from Walmart)
- Varathane Aged Wood Accelerator (or stain of your choice)
- Sander or sandpaper
- Decorative Napkin (I got mine from Dollar Tree)
- Mod Podge
- Spring Stencil Quote
- Painters Tape
- Flat Sponge brush
- Round Sponge brush
- Paper Towel
- Polyurethane (to seal when done, optional)

Instructions - DIY Aged Spring Sign
First I sanded and then stained my wood, front and back. I used Varathane Aged Wood Accelerator, it's been my favorite way to stain so far.
Let fully dry.

Second, I lightly brushed on white chalk paint, making it look distressed as I go.
Let paint dry.

Then sand the wood again to make sure surface is smooth, if needed.

Next, I took my sponge brush and dabbed my stain around the edges and a few spots in the middle. Make sure to pat the stain with a paper towel as you go to remove excess stain.
You can see what it should look like in the photo below.

Once the wood work part is done, it's time to decorate it.
Take one paper napkin from the package and unfold it.
There will usually be the same decoration shown 4 times.
Cut out a section that you want to apply to your wood.

I then trimmed off access paper around the picture and pulled the section apart to just use the part with the napkin decoration.

Next, apply Mod Podge to the section of wood where you wan to lay your napkin.

Lay your napkin on top of the wet mod podge and smooth out. I didn't smooth out my napkin all the way because I wanted to have a textured feel to it once done.

Lightly apply mod podge over the top of the napkin in smooth strokes. Apply a second coat if needed.
Be careful not to rip your napkin.
Let fully dry.

Take a stencil of your choice, preferably a Spring quote.
I am using one I got from Essential Stencil. These are reusable and so easy to use.

Lay your stencil down on the wood next to the napkin, or where ever you want on your wood.
Next, put painters tape on the sides of the stencil so that you won't get it outside of the stencil area.

Take your green chalk paint and lightly dab paint over the stencil with the round sponge brush.
Remove any extra paint from the brush before dabbing, it's best to use less paint on the brush as you go.
Let dry or dry with a heat gun and apply a second coat, using the same technique as before.

Remove painters take and let paint fully dry.
Next, lightly brush on the polyurethane with a flat sponge brush and let fully dry.

and your done!
As you can see below the texture in the napkin once done. I really like that look but if you don't, you can smooth it out more to your liking.

I really hope you enjoyed this tutorial. If you would like to see more, please follow me over on Facebook and Pinterest.


