Lighted Burlap Garland
Garland anytime of year, it's my thing. I love having it on the mantel, changing it out by season or holiday. I saw this Lighted Burlap Garland DIY come across my Facebook news feed and I just to make one for Christmas.

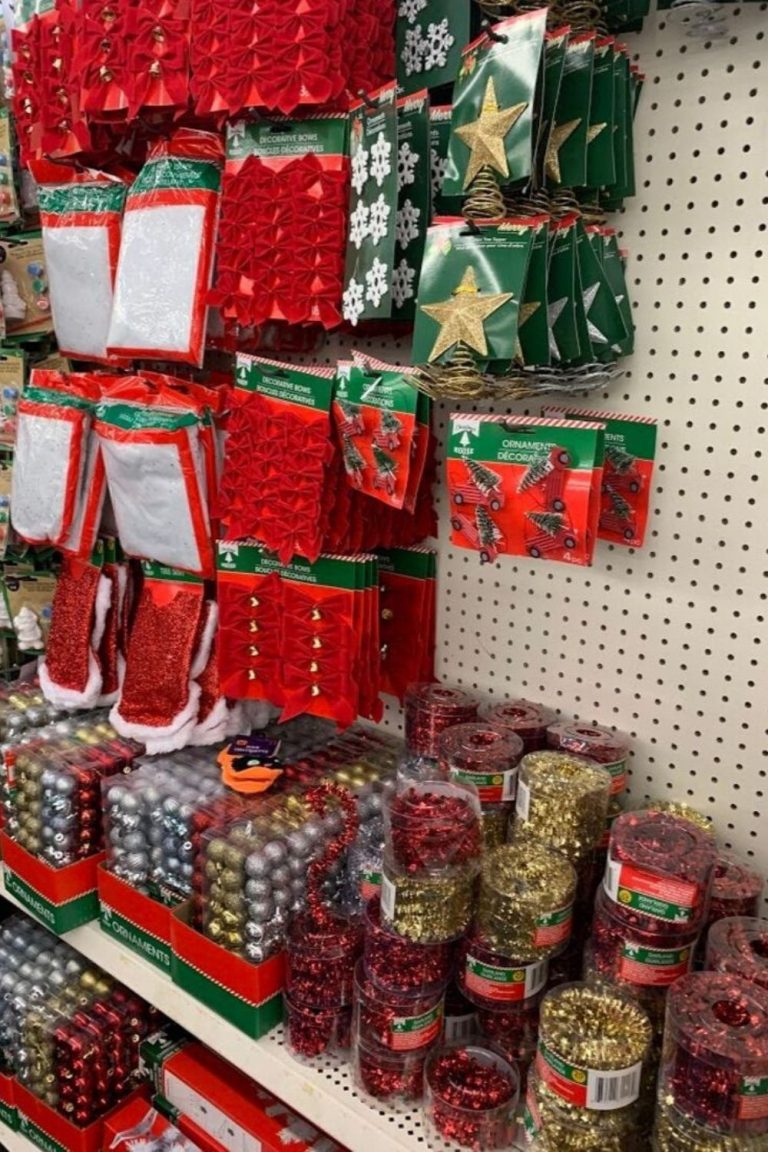
All items for this DIY came from Dollar Tree, cheap and fun to make.
Materials - Dollar Tree Lighted Burlap Garland
- Christmas Lights - Any length
- Tan Burlap Ribbon
- Green Burlap Ribbon
- Red Burlap Ribbon
- Scissors
This Christmas craft is very simple, so grab your materials and let's get started!

Instructions
- Open up the Christmas Lights and stretch them out
- Cut up each of your colors of burlap in 8-10 inch length pieces.
- Now cut each piece of burlap in half, long and narrow (will be 2 long pieces per each piece of ribbon that you have cut.
- Rotating colors of ribbon, tie each piece between the bulbs. (I tied one but you can double if you want).
- Keep going until you have done the full strand of lights.
- Plug it in and enjoy!
There you have it, your own Lighted Burlap Garland to add to your Christmas home decor. What do you think?
I am loving making all of these fun, cheap Christmas decorations, they have so much more meaning than just buying them already made. I will probably do my own every year.
Also check out.. How To Start Crafting On A Budget
and Top 10 Blog Posts for 2019
If you have loved this just as much as me, please Share this with your friends and PIN the graphic below to your Pinterest boards and be sure to Follow me for more DIY.
Be sure to check our more Dollar Tree Crafts here!


Dollar Tree Lighted Burlap Garland
Simple and fun Dollar Tree Christmas Craft
Materials
- Christmas Lights (any length)
- Tan Burlap Ribbon
- Red Burlap Ribbon
- Green Burlap Ribbon
- Scissors
Instructions
- Open up the Christmas Lights and stretch them out
- Cut up each of your colors of burlap in 8-10 inch length pieces.
- Now cut each piece of burlap in half, long and narrow (will be 2 long pieces per each piece of ribbon that you have cut.
- Rotating colors of ribbon, tie each piece between the bulbs. (I tied one but you can double if you want).
- Keep going until you have done the full strand of lights.
- Plug it in and enjoy!
