DIY Fall Table Centerpiece
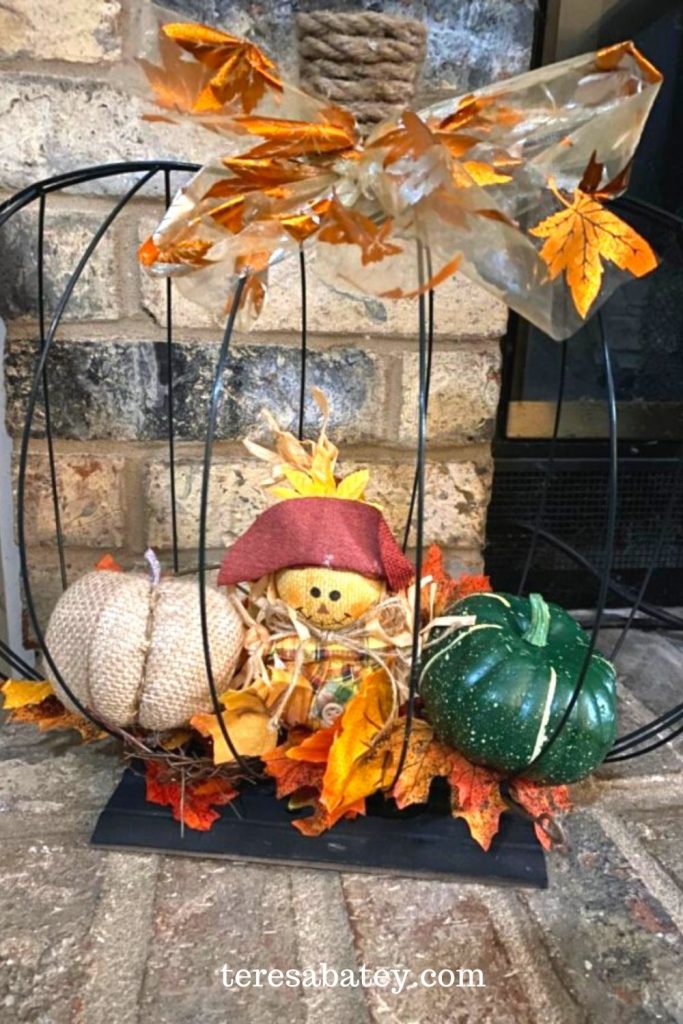
Do you need something to add to your table when decorating for Fall? I found something very simple that you can make, check out my DIY Fall Table Centerpiece.
All items for this craft, except wood piece, where purchased at Dollar Tree. Which makes this an affordable craft to make without breaking the bank.
If you would like printable instructions for this project, please scroll all the way to the bottom of this post.

DIY Fall Table Centerpiece - Supplies
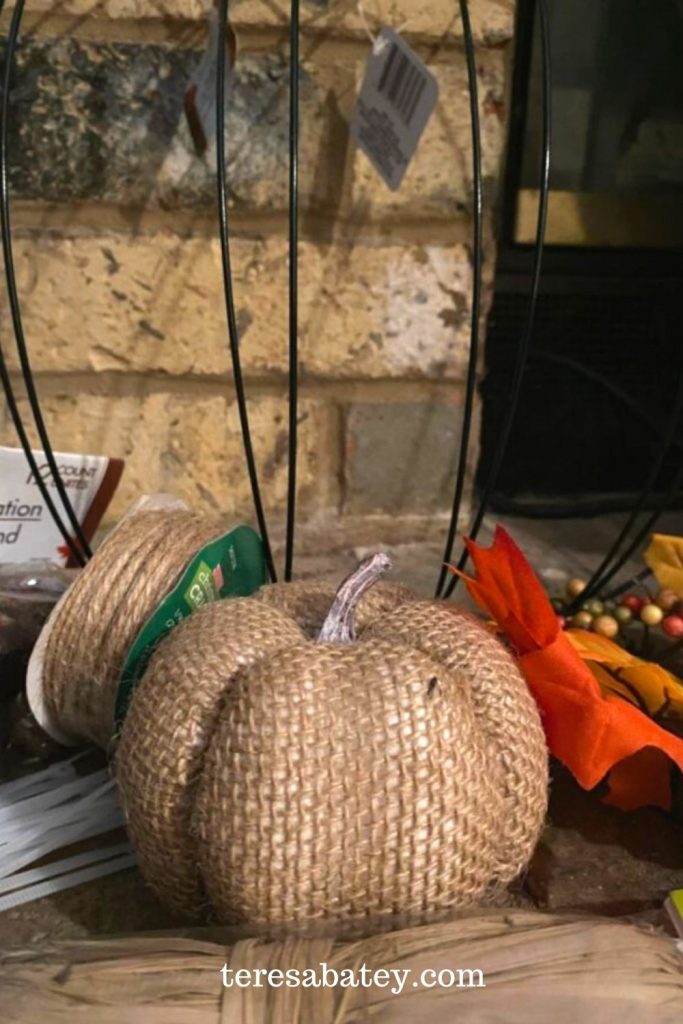
- 2 Pumpkin Shaped 3D Metal Wreath Forms
- Small Zip Ties
- Black spray paint (to paint zip ties)
- Rope
- Hot Glue or Gorilla Glue (or any that you have on hand)
- Small wood board (to glue wreath form too to stand)
- Fall decor and Floral to put inside of centerpiece
- Fall Ribbon or burlap
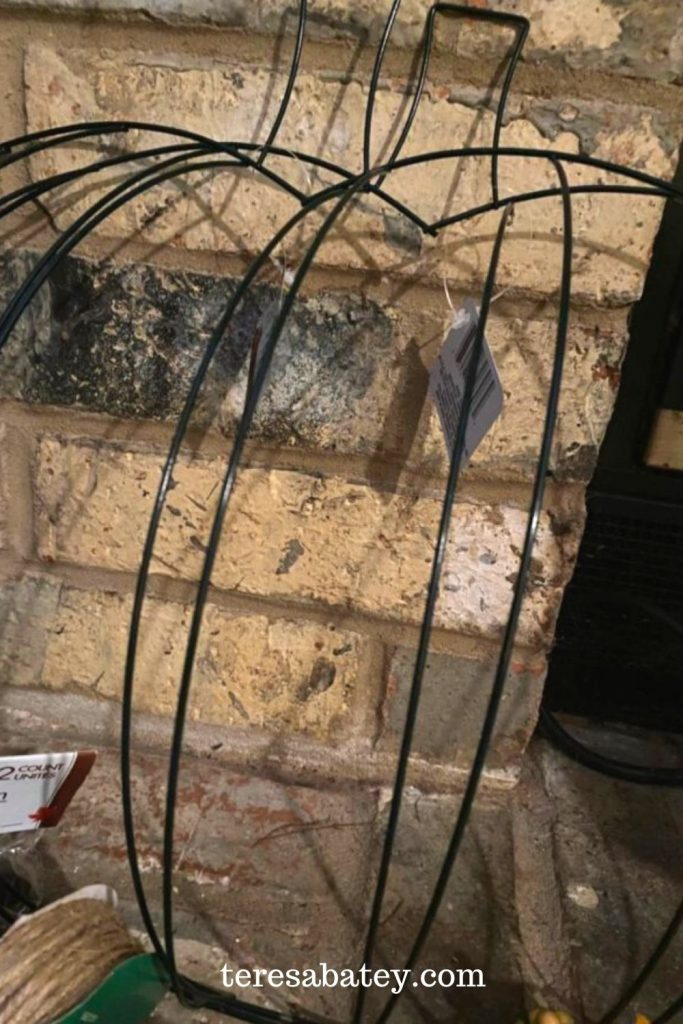
DIY Fall Table Centerpiece - Instructions
As shown in the next 3 photos
- Attach the 2 wreath form together using zip ties
- Spray the zip ties with black spray paint to help them blend in.
- Glue the wreath form to a flat piece of wood (or whatever you choose) so that it will stand up straight.


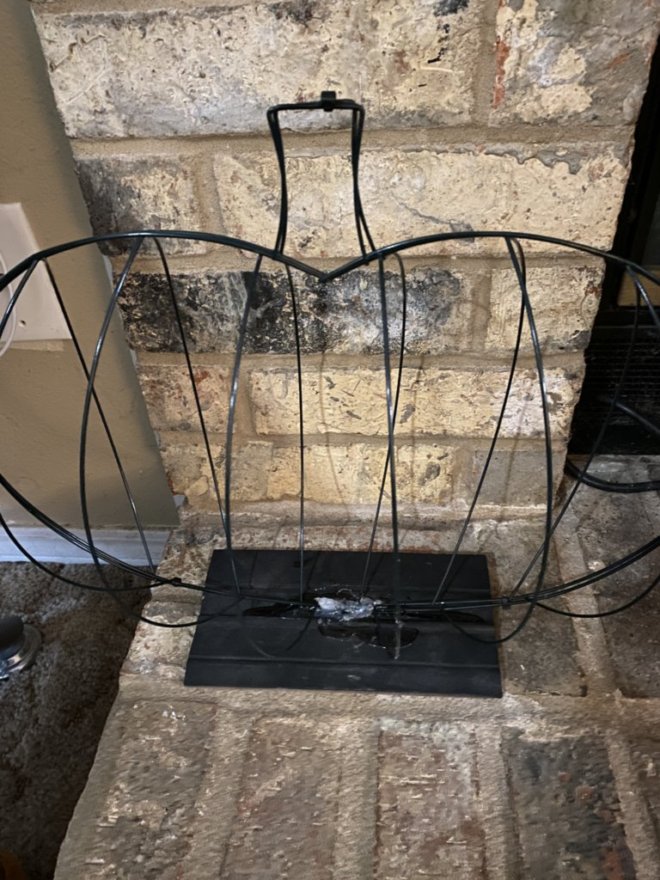
- Take rope and wrap it around the stem of the pumpkin and attach with glue for a secure hold. (optional)
- Place any types of fall decor and/or fall floral inside the pumpkin wreath display.
- Take fall ribbon and tie a bow around the bottom of the pumpkin stem.
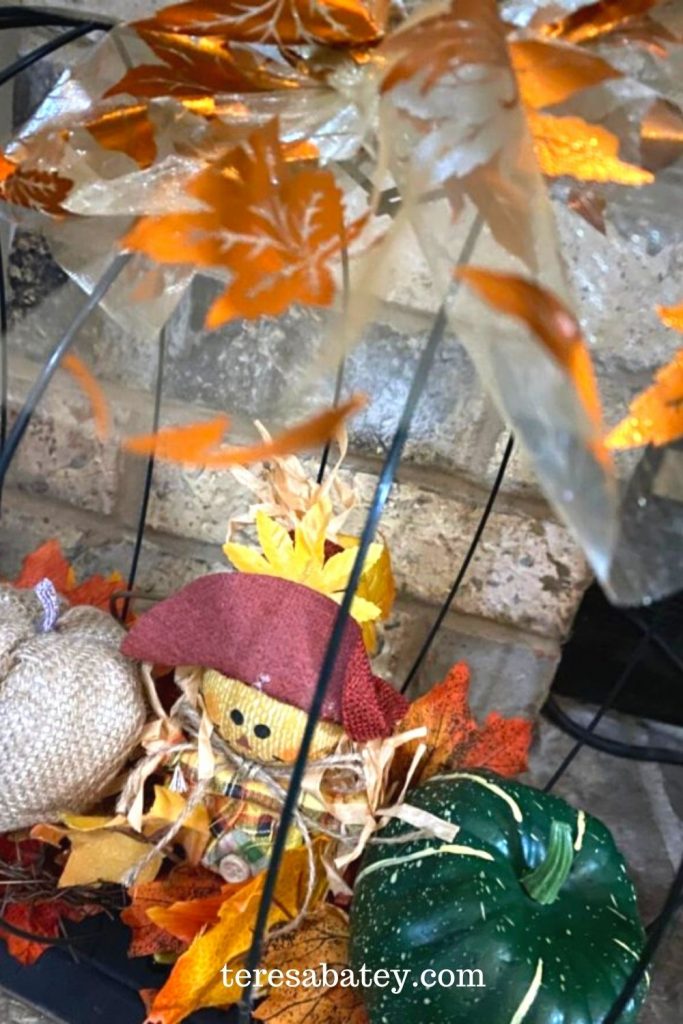
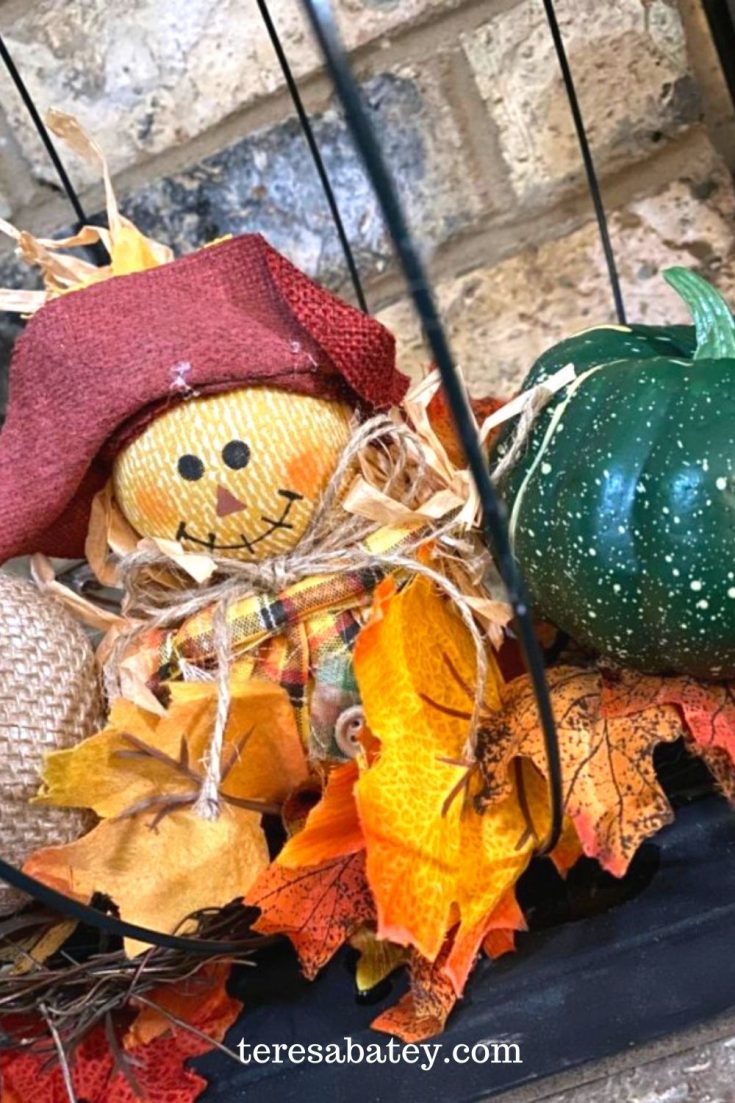
Items I used inside of my DIY Fall Table Centerpiece
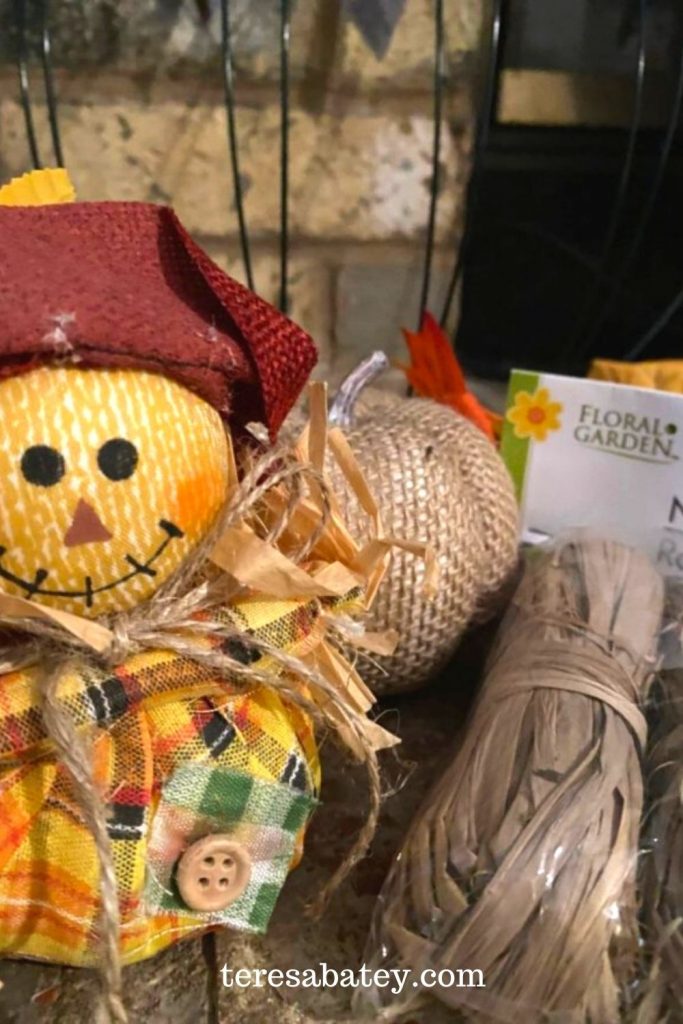
- Small scarecrow
- Fake floral
- Styrofoam pumpkins (small enough to fit) and displayed.

Need more Dollar Tree DIY/Crafts? You can find many more DIY Dollar Craft Ideas here!
Follow me on Facebook and Pinterest for more DIY and Craft ideas, plus videos! Oh and don't forget, there is recipes too.
PIN THIS FOR LATER

DIY Fall Table Centerpiece
Materials
- 2 Pumpkin Shaped 3D Metal Wreath Forms
- Small Zip Ties
- Black spray paint (to paint zip ties)
- Rope
- Hot Glue or Gorilla Glue
- Small wood board (to glue wreath form too to stand)
- Fall decor and Floral to put inside of centerpiece
- Fall Ribbon
Instructions
- Attach the 2 wreath form together using zip ties
- Spray the zip ties with black spray paint to help them blend in.
- Glue the wreath form to a flat piece of wood (or whatever you choose) so that it will stand up.
- Take rope and wrap it around the stem of the pumpkin and attach with glue. (optional)
- Place any types of fall decor and/or fall floral inside the pumpkin wreath form.
- Take fall ribbon and tie a bow around the bottom of the pumpkin stem.
Recommended Products
As an Amazon Associate and member of other affiliate programs, I earn from qualifying purchases.
